
How Do You Prepare a Surface for Line Marking?
Clients often ask: how do you prepare a surface for line marking? Preparation is what makes markings bond, last, and stay clear. Clean, dry, stable, and properly profiled substrates deliver sharper lines, better safety, and lower lifecycle cost.
Why Preparation Matters.
Without correct prep you risk:
-
Poor adhesion → peeling, flaking, trip hazards
-
Low visibility → faded lines, unclear symbols
-
Short lifespan & higher cost → early rework and downtime
Quick Checklist (At a Glance).
-
Survey & test – identify contaminants, coatings, moisture, porosity
-
Clean thoroughly – degrease, pressure wash/scrub; remove dust
-
Remove old lines – hydro/shot blasting, grinding, or black masking
-
Dry the surface – confirm substrate moisture is within spec
-
Repair defects – fill cracks, patch potholes/edge spalls
-
Profile & prime – create the key; prime where required
-
Set out accurately – measure, mask, and mark layouts
-
Final QA – confirm cleanliness, dryness, temperature, access
Step-by-Step: Surface Preparation for Line Marking.
1) Survey & Assessment
Record substrate (asphalt/concrete), coatings, oil/fuel contamination, defects, drainage, and access windows. Agree phasing and reopen targets.
2) Cleaning & Degreasing
-
External: pressure washing with appropriate detergents; pre-treat oils/fuel.
-
Internal: scrubber-dryer with neutral pH; dust control for forklifts/warehousing.
Avoid harsh solvents or overly abrasive pads that can soften or gouge coatings.
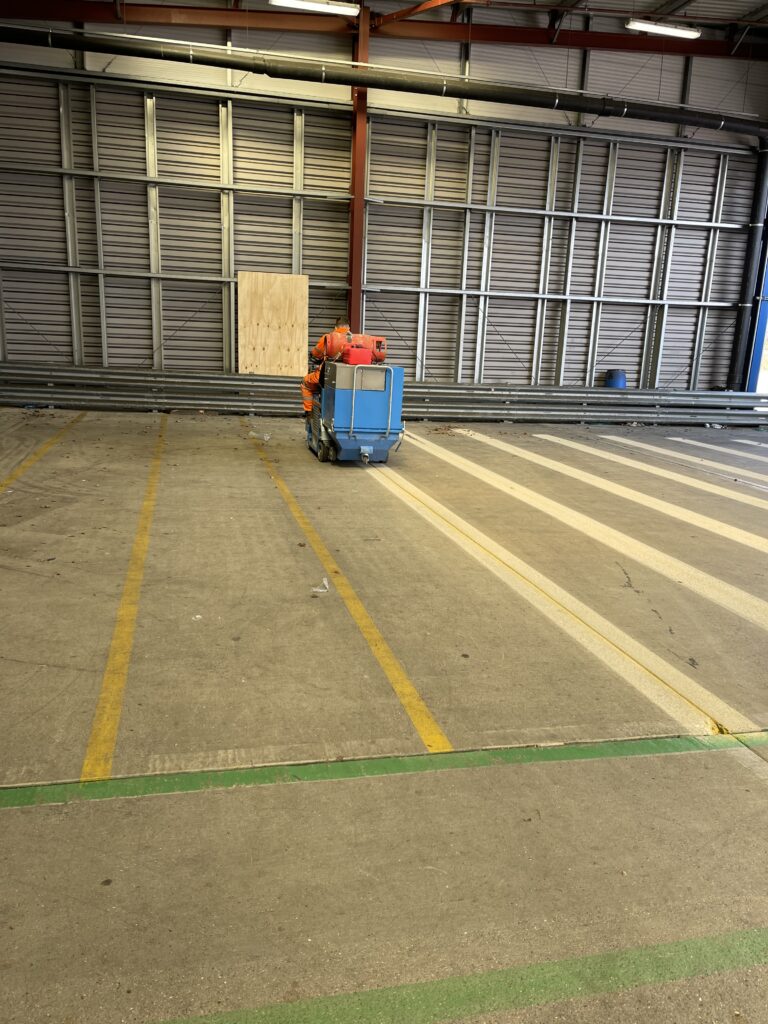
3) Line Removal or Masking
Remove redundant markings via shot blasting, hydroblasting, or grinding. Where full removal isn’t viable, use black thermoplastic masking to prevent ghosting.
4) Dryness & Moisture Control
Moisture prevents adhesion. Allow time to dry (fans, dehumidifiers internally), verify no standing water, and check dew-point risk externally.
5) Repairs & Local Levelling
Fill cracks, patch potholes, and reinstate edges so lines aren’t bridging voids. Smooth, stable bases produce crisp edges.
6) Profiling & Priming
Create the correct surface profile (especially concrete) for the chosen system. Apply primers/bonding agents where specified for thermoplastic, MMA, epoxy, or PU systems.
7) Set-Out & Masking
Accurate layout is critical: measure, chalk/laser line, and mask for symbols, crossings, hatching, and text to ensure repeatable results.
8) Final Pre-Apply Checks
Confirm: surface clean/dry, temperature and humidity within spec, access/traffic management in place, and materials/equipment ready.
Methods by Surface Type.
-
Asphalt/Tarmac (external): pressure wash → line removal → dry → local repairs → prime (if specified) → set-out.
-
Concrete (internal/external): degrease → mechanical clean/shot blast → moisture check → prime (commonly) → set-out.
-
Previously coated areas: test adhesion; remove failing coatings; abrade/profile sound areas; prime compatible system.
Common Mistakes to Avoid.
-
Painting over dirt/oil or damp substrates
-
Skipping removal/masking of old lines (ghosting/confusion)
-
No primer where required
-
Ignoring temperature/dew point limits
-
Rushing layouts (misaligned bays, uneven symbols)
Why Choose C&R.
As one of the UK’s leading specialists in line marking, surface preparation, coatings, and cleaning, C&R delivers expert advice, professional results, and long-lasting performance nationwide.
Over 30 Years’ Experience
Trusted nationwide by major brands and local authorities.
Fully Accredited & Insured
Working to UK safety and environmental standards.
Complete Start-to-Finish Service
From design and preparation to marking and aftercare.
Nationwide Coverage
Responsive teams operating across England, Scotland, and Wales.